
The Complete Home Espresso Setup for Beginners (2026 Guide)
Home espresso is easy to mess up. Wrong grinder, wrong machine, wasted money. Here's what to buy in order so you don't.
We buy and test the products we write about. Some links below are affiliate links, so we earn a commission if you buy through them at no extra cost to you. It never changes what we recommend or how we rank things.
Getting Started with Home Espresso
Making espresso at home sounds intimidating, but it does not have to be. With the right equipment and a few tips, you can pull great shots within your first week.
This guide covers everything from choosing your machine to pulling your first shot.
Step 1: Choose Your Machine
For beginners, we recommend the [Breville Barista Express Impress](https://www.amazon.com/dp/B0BBYNPV33?tag=essential07fc-20), currently about $770. It has a built-in grinder and assisted tamping, which eliminates the two hardest parts of espresso making. You can upgrade individual components later as your skills grow. Check current price →
Step 2: Get the Right Accessories
Must-Have Accessories
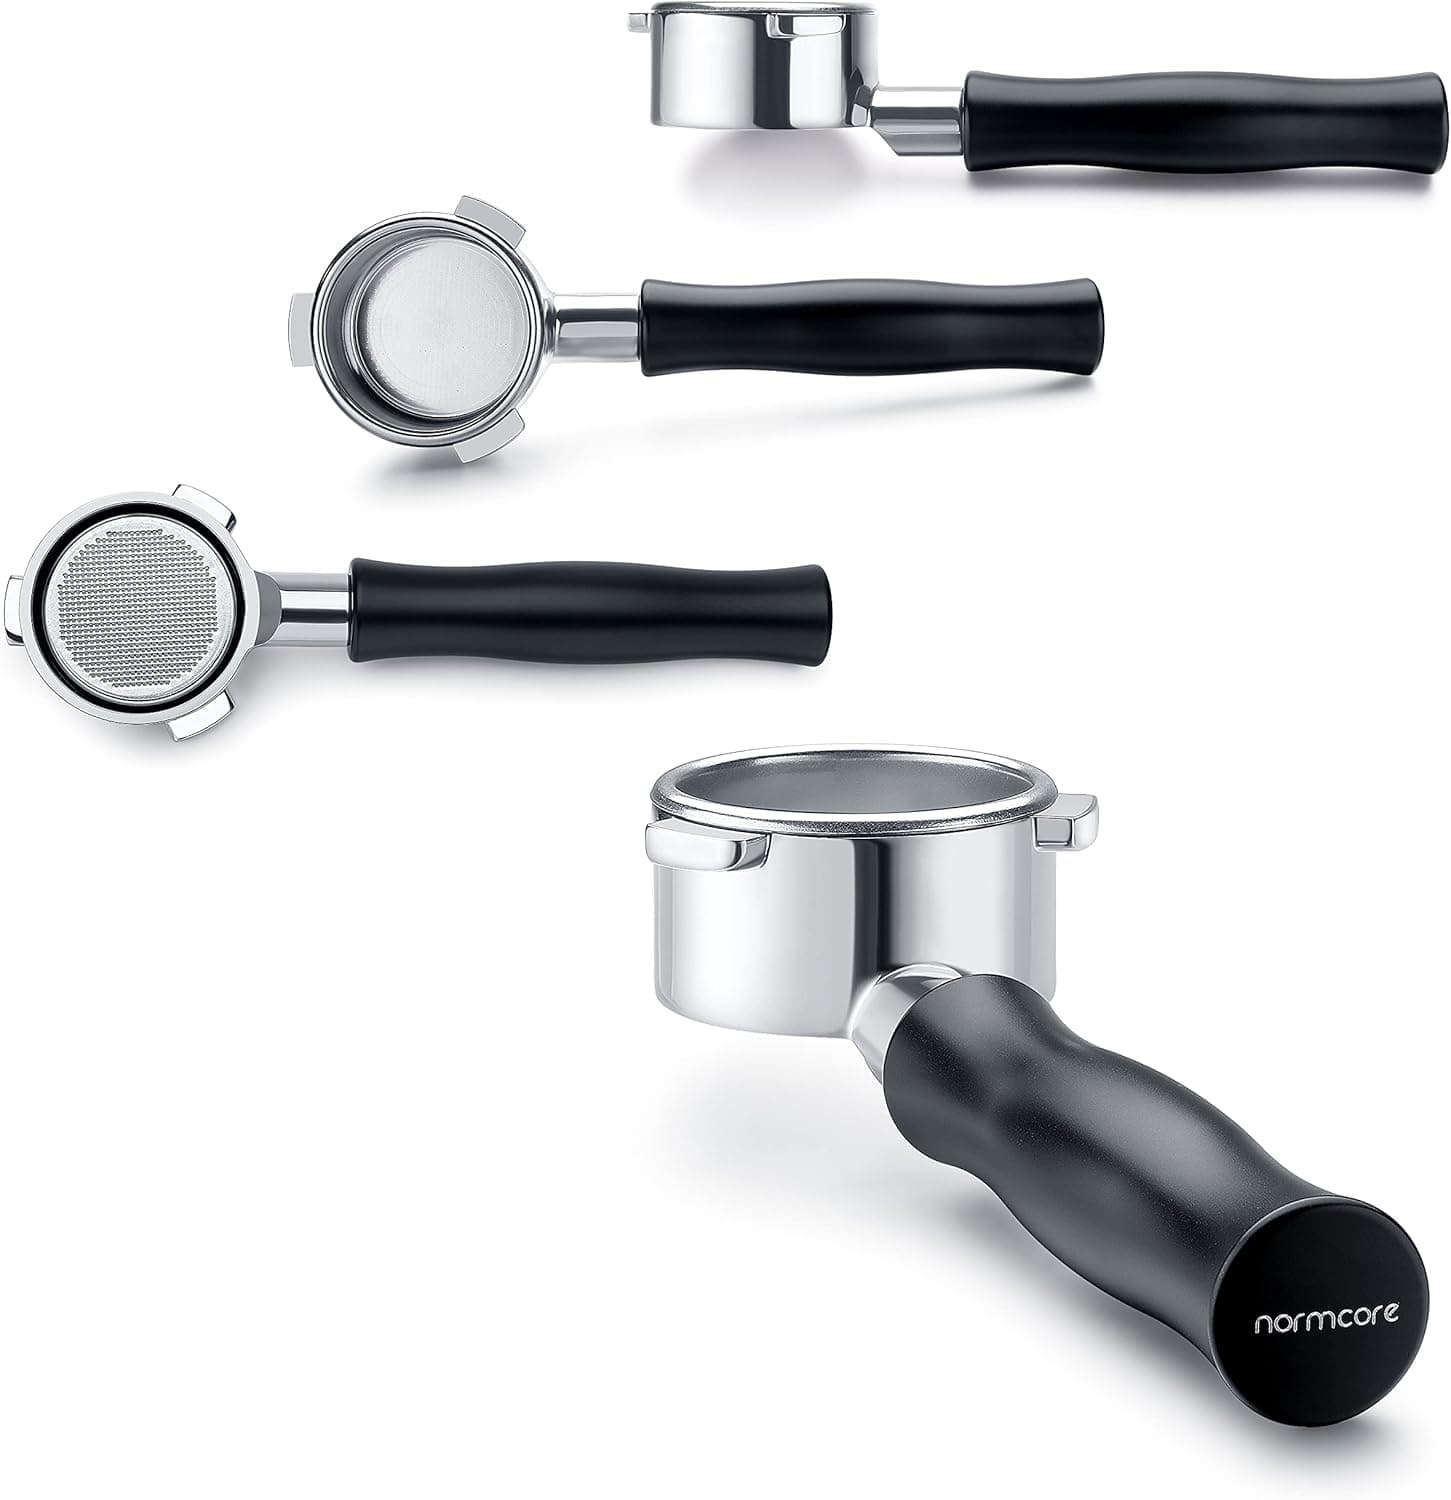
Bottomless Portafilter - A naked portafilter lets you see how water flows through your coffee puck. It is the best way to figure out what you are doing wrong. The Normcore 54mm (about $57) fits Breville machines perfectly.
Distribution and Tamping Tools - Getting your puck prep right is most of the battle with espresso. A distribution tool and proper tamper make it repeatable. The Mewco 7-in-1 kit (about $85) covers all the basics.
A WDT tool - The cheapest thing on this list and the one that fixed more shots than anything else we bought. An IKAPE 54mm WDT tool (about $38) stirs the dry grounds with fine needles so there are no clumps left for the water to sneak around. If your machine takes a 58mm portafilter instead, the GdHaHSP 58mm kit (about $23) throws a WDT tool, funnel and puck screen in together. Measure your basket before you order. 54mm and 58mm do not swap.
Milk Thermometer - If you drink lattes or cappuccinos, a clip-on thermometer prevents scorched milk. The ideal steaming temperature is 140-155 degrees Fahrenheit, and a good one runs about $11.
Nice-to-Have Later
- •Scale with timer (for precise dosing)
- •Knock box (for puck disposal)
- •Dedicated coffee beans (freshly roasted, within 2-4 weeks)
Step 3: Dial In Your First Shot
- Start with the default grind setting on your machine
- Dose 18g of coffee into your portafilter basket
- Distribute evenly using your distribution tool
- Tamp with consistent pressure (the Impress system handles this for you)
- Pull a shot aiming for 36g of liquid in 25-30 seconds
- Adjust grind finer if the shot runs too fast, coarser if too slow
Step 4: Steam Your Milk
- Fill your pitcher to the bottom of the spout
- Purge the steam wand
- Submerge the tip just below the surface
- Introduce air for 2-3 seconds (you will hear a hissing sound)
- Submerge deeper and heat to 140-155 degrees
- Tap the pitcher to remove large bubbles and swirl
Common Beginner Mistakes
- •Using stale coffee - Buy whole beans roasted within the last 2-4 weeks
- •Not purging the group head - Run water through before your shot
- •Tamping unevenly - This causes channeling and bitter shots
- •Overheating milk - Above 160 degrees, milk loses sweetness and scalds
What to Expect to Spend
A complete beginner setup runs about $961 at today's prices, or roughly $480 if you start with the Electactic at about $330 instead of the Breville. That sounds like a lot, but if you are spending $5-6 a day on lattes, even the higher figure pays for itself inside a year. Plus you get to make it exactly how you like it.
Ready to Start?
Every one of these is on our counter and gets used every morning. If you want the short version, it is the Breville Barista Express Impress, the Normcore bottomless portafilter, the Mewco 7-in-1 kit, the IKAPE WDT tool, and the KT THERMO thermometer. About $961 all in at current prices, and you are set.
The products we talked about
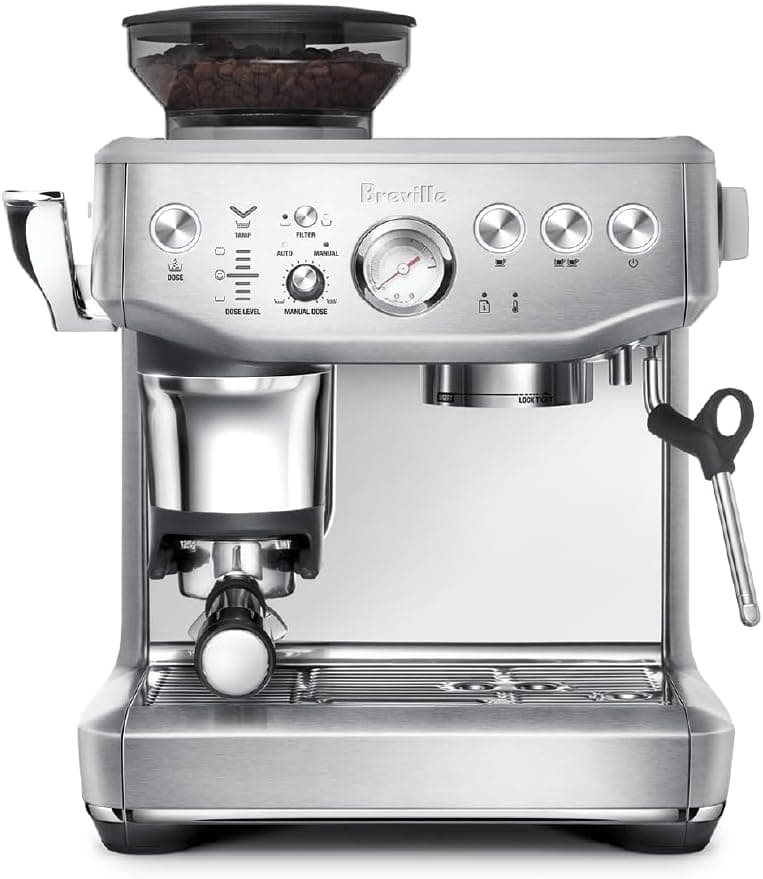
"I use this every single morning I love this espresso machine. The size fits perfectly on my counter and you can tell it's made to last. The adjustable coffee temperature lets me get the flavor just how I like it, and the grinder and tamping system make the process smooth and consistent. The espresso comes out rich and full of flavor every time. I'm still practicing my milk frothing for latte art, but this machine is the real deal. Best purchase I have made for my kitchen."
View full details"Love it I really like this portafilter. It feels solid and has a nice weight and thickness to it. You can tell it's good quality. The coffee comes out smooth with great flavor and crema. It's easy to use and clean, and it looks great with my setup. The only thing is the basket is a bit deep, but other than that it's great."
View full details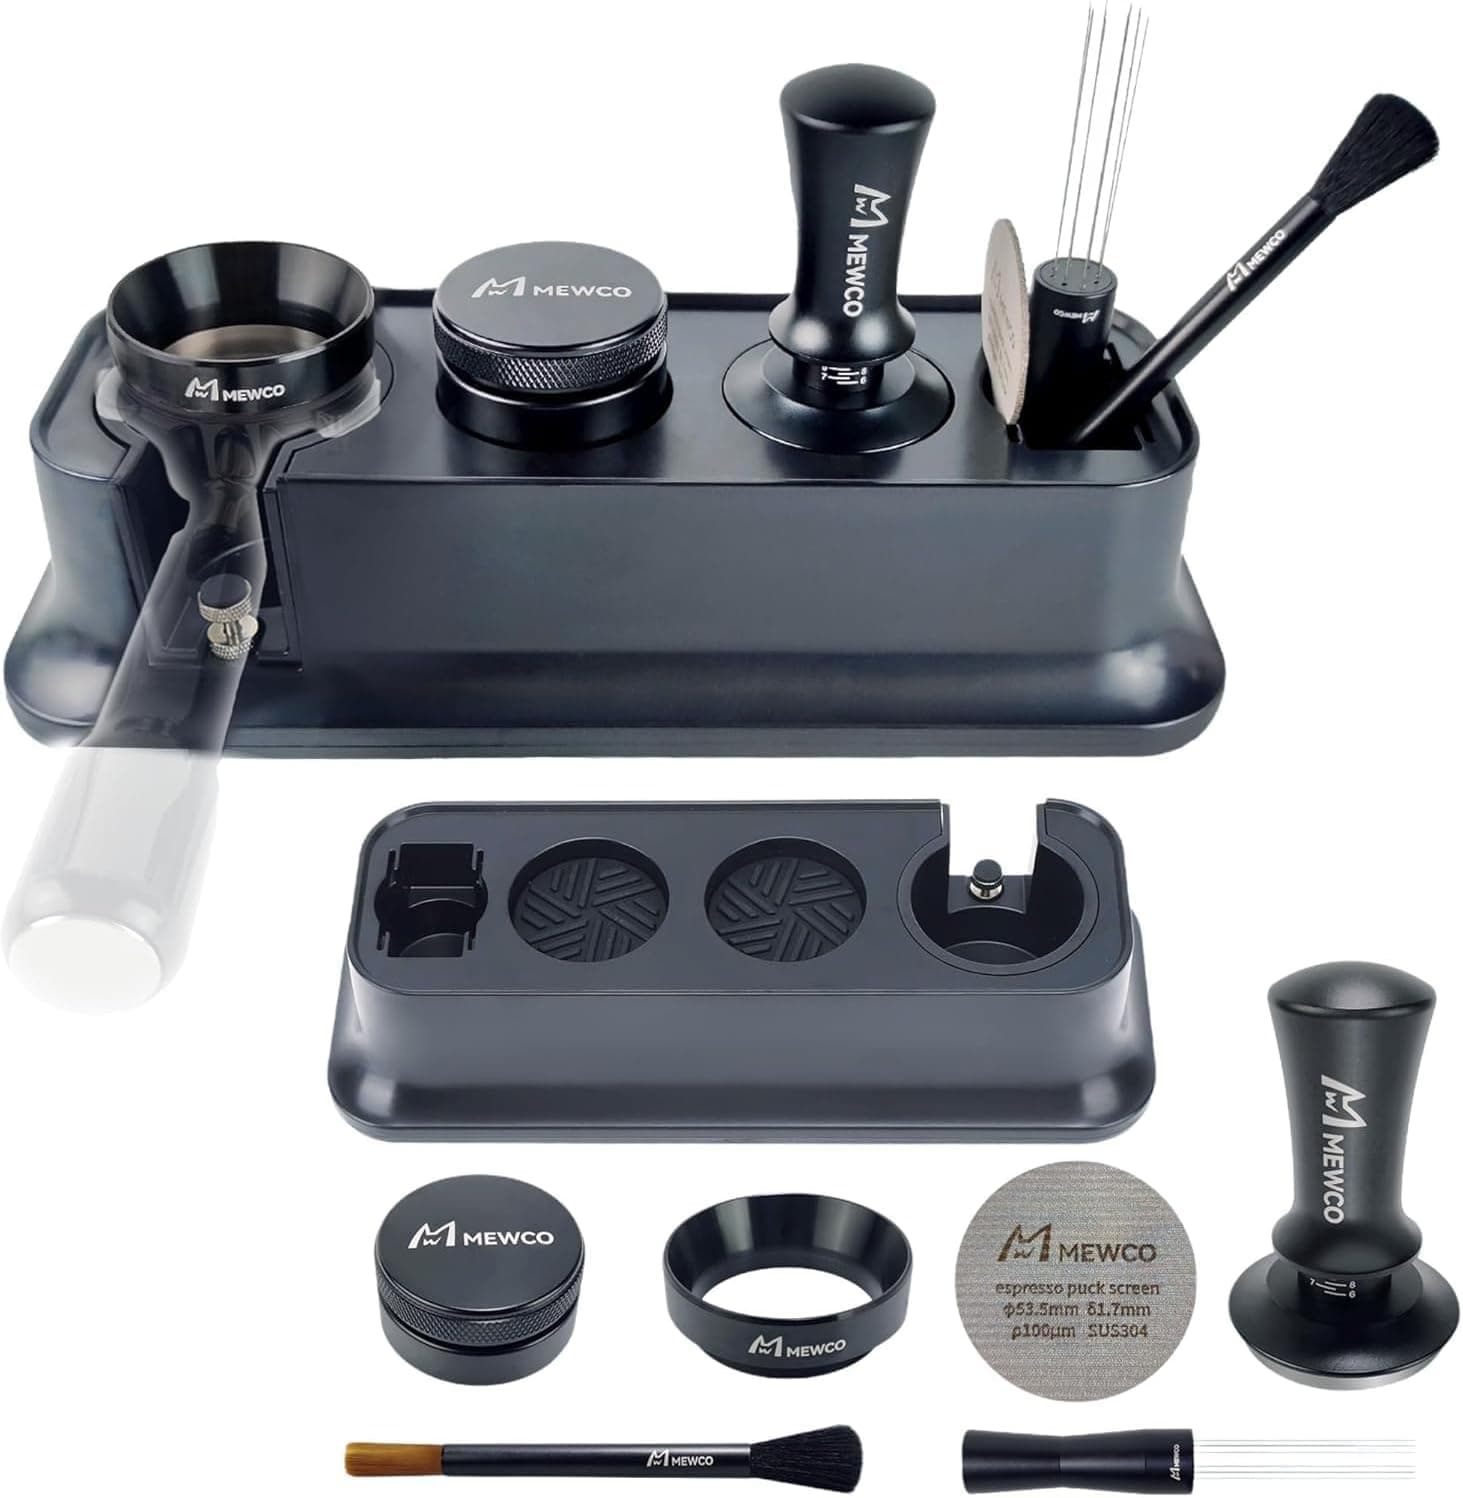
"Solid, well-built tools. Great for home baristas I'm really impressed with this 7-in-1 espresso accessory kit:"
View full details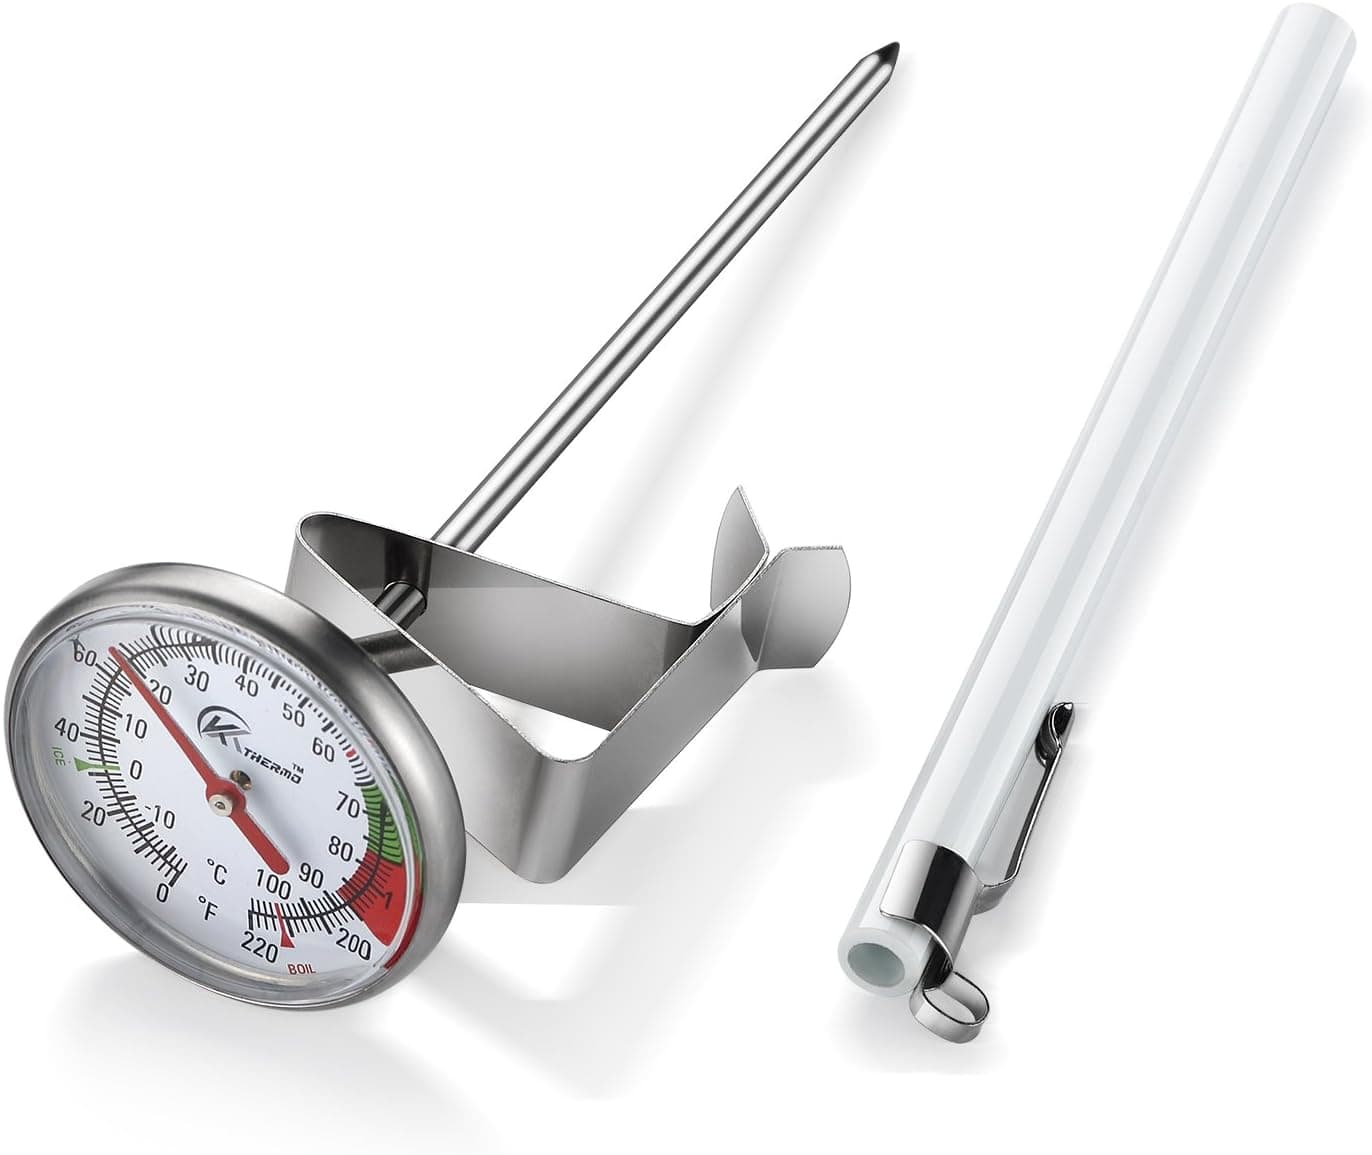
Instant-read milk frothing thermometer with 2" dial, 5" probe, 0–220°F range. Stainless construction with clip.
View full detailsKeep Reading
Best Espresso Machine Under $500 in 2026: Our Top Pick After 6 Months of Testing
We tested multiple espresso machines under $500. The Breville Barista Express Impress is the one worth keeping. Here's why the rest disappointed.
CoffeeBreville Barista Express Impress vs Electactic: Which One Should You Buy?
Breville Barista Express Impress vs Electactic 20-bar. We've used both. One is clearly better, and it's not necessarily the expensive one.
CoffeeBest Espresso Accessories in 2026 (What Actually Fixed Our Shots)
Sour, fast-running shots are almost never the machine. These are the accessories we use every morning, ranked by how much they actually changed the coffee.
Skip the Amazon rabbit hole. Get one pick a week.
One product we'd actually buy, plus any deals worth jumping on. Unsubscribe anytime.